Start by navigating to the Staff module and then click on the menu located in the top-left side of the screen.

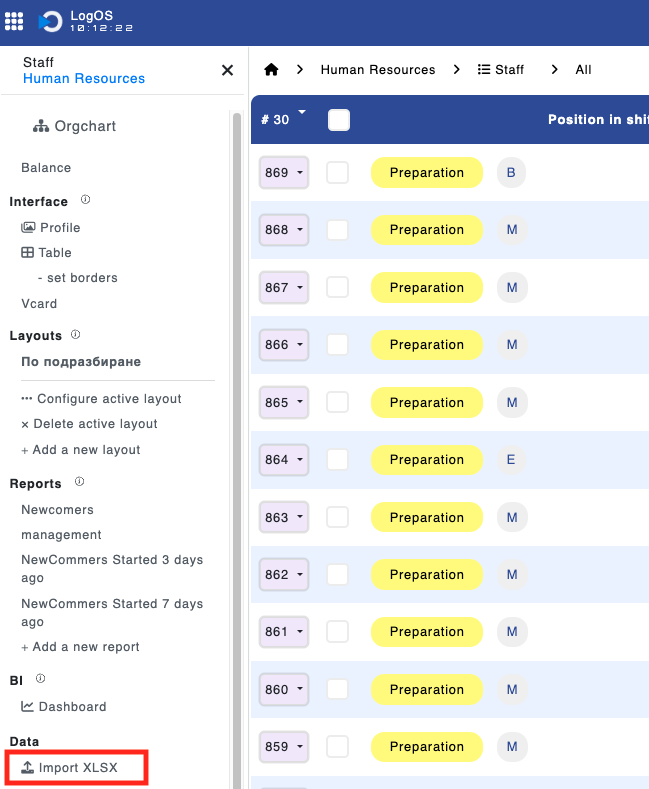

Within this menu, you'll find the option to import an XLSX file. Selecting this will open a pop-up window where you can download the template by clicking on the Template button. This template is crucial for correctly inserting your data into the respective columns before importing your file.
To import, use the same button, but this time select Import.
Note: If the staff member belongs to the 'Drivers' department, this action will automatically create a record in the Drivers module. Similarly, for staff members from the 'Dispatchers' department, records will be created under Disponents.
After completing the data entry for drivers and dispatchers, establishing a connection between them is the next step.
Access the Disponents module, select the disponent you wish to link drivers to, and click on the Drivers button. Here, you can add all the drivers that should be associated with this particular disponent.

Note: Associating drivers who are assigned to trucks with a disponent will automatically link the trucks to the disponent as well. This feature ensures that the vehicle allocation reflects the operational structure and assignments within your fleet.